This page provides important advice to help you produce the best quality podcasts for your students. Navigate to a particular section using the buttons below, or scroll through to read through to get a better understanding of how lecture capture works.
What is recorded?
Timetabled Lectures and other events
The Podcasting service will only automatically record activities listed as lectures within the timetable, and these lectures must be associated with at least one staff member. Any other event type (e.g. seminars, workshops, classes) are not automatically recorded and if required, should be manually booked using the Podcast Schedule tool (view Book a Recording for more information on using the Schedule tool).
Video in the Podcast
In terms of video signal, the system records the output of the projector by default, which might include PowerPoint presentations, visualisers, PCs, tablets, mobiles and other media (depending upon what is sent to the projector).
In a number of teaching rooms across campus, there are known issues which affect the video recording when connecting Apple devices are connected via HDMI cable to the projection system (see the Apple Devices section below for further information).
Some larger lecture theatres are also equipped with video cameras which can record in addition to, or instead of, the projector output. The use of cameras is voluntary and must be opted-in by teaching staff on their Recording Preferences web. See the camera page for more details.
General copyright information can be found in the copyright guidance on the Library website.
Projector Screens
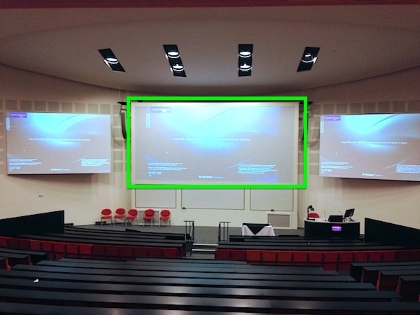
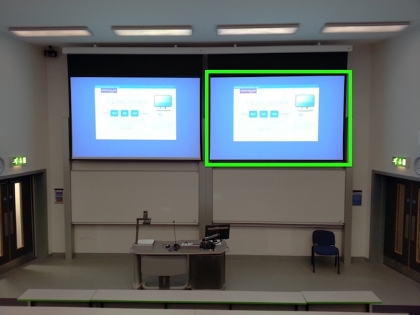
Some teaching spaces are equipped with more than one projector. In these locations, which screen the Podcast system will record will depend on the number of screens:
- Rooms with two screens – whatever is displayed on the right-hand projector screen as you face towards them from the student point of view.
- Rooms with three projector screens – what is displayed on the central screen which will be recorded
The images below highlight what screen will be recorded by the Podcast system – please note that regardless of disabling a projector, any content displayed on the theatre monitor may still be recorded.
IMPORTANT NOTICE
Schuster Building Theatres – due to the older equipment in these theatres, the Podcast system will record whichever input is last displayed via the control panel on the desk, regardless of which projector screen it is being displayed on.
This means that if you are displaying two different inputs on the projector screens (for example the visualiser on the left screen, and the PC on the right screen), then you must ensure you choose to display what you want recorded as the last thing. For example, if you want the PC to be recorded in the podcast, you should display the visualiser on any screen first, and then display the PC on the right screen via the control panel.
This issue exists due to the older equipment in place, and the should be remedied once the rooms are upgraded by Media Services.
Audio in the Podcast
The Podcast system will record audio from different microphones in different rooms, depending on the configuration of equipment within the rooms.
The Podcast Locations page lists the type of microphone used in each teaching room to record audio:
- Lectern/Wireless
- USB
- Ceiling mic
The section below shows the different types of microphones available in teaching rooms.
Lectern/Wireless Microphones
In rooms where the podcast system is able to record from the Wireless microphones (as listed in the microphones column of the Locations table) we recommend switching on and using them whenever possible to provide the best quality audio to the Podcast.
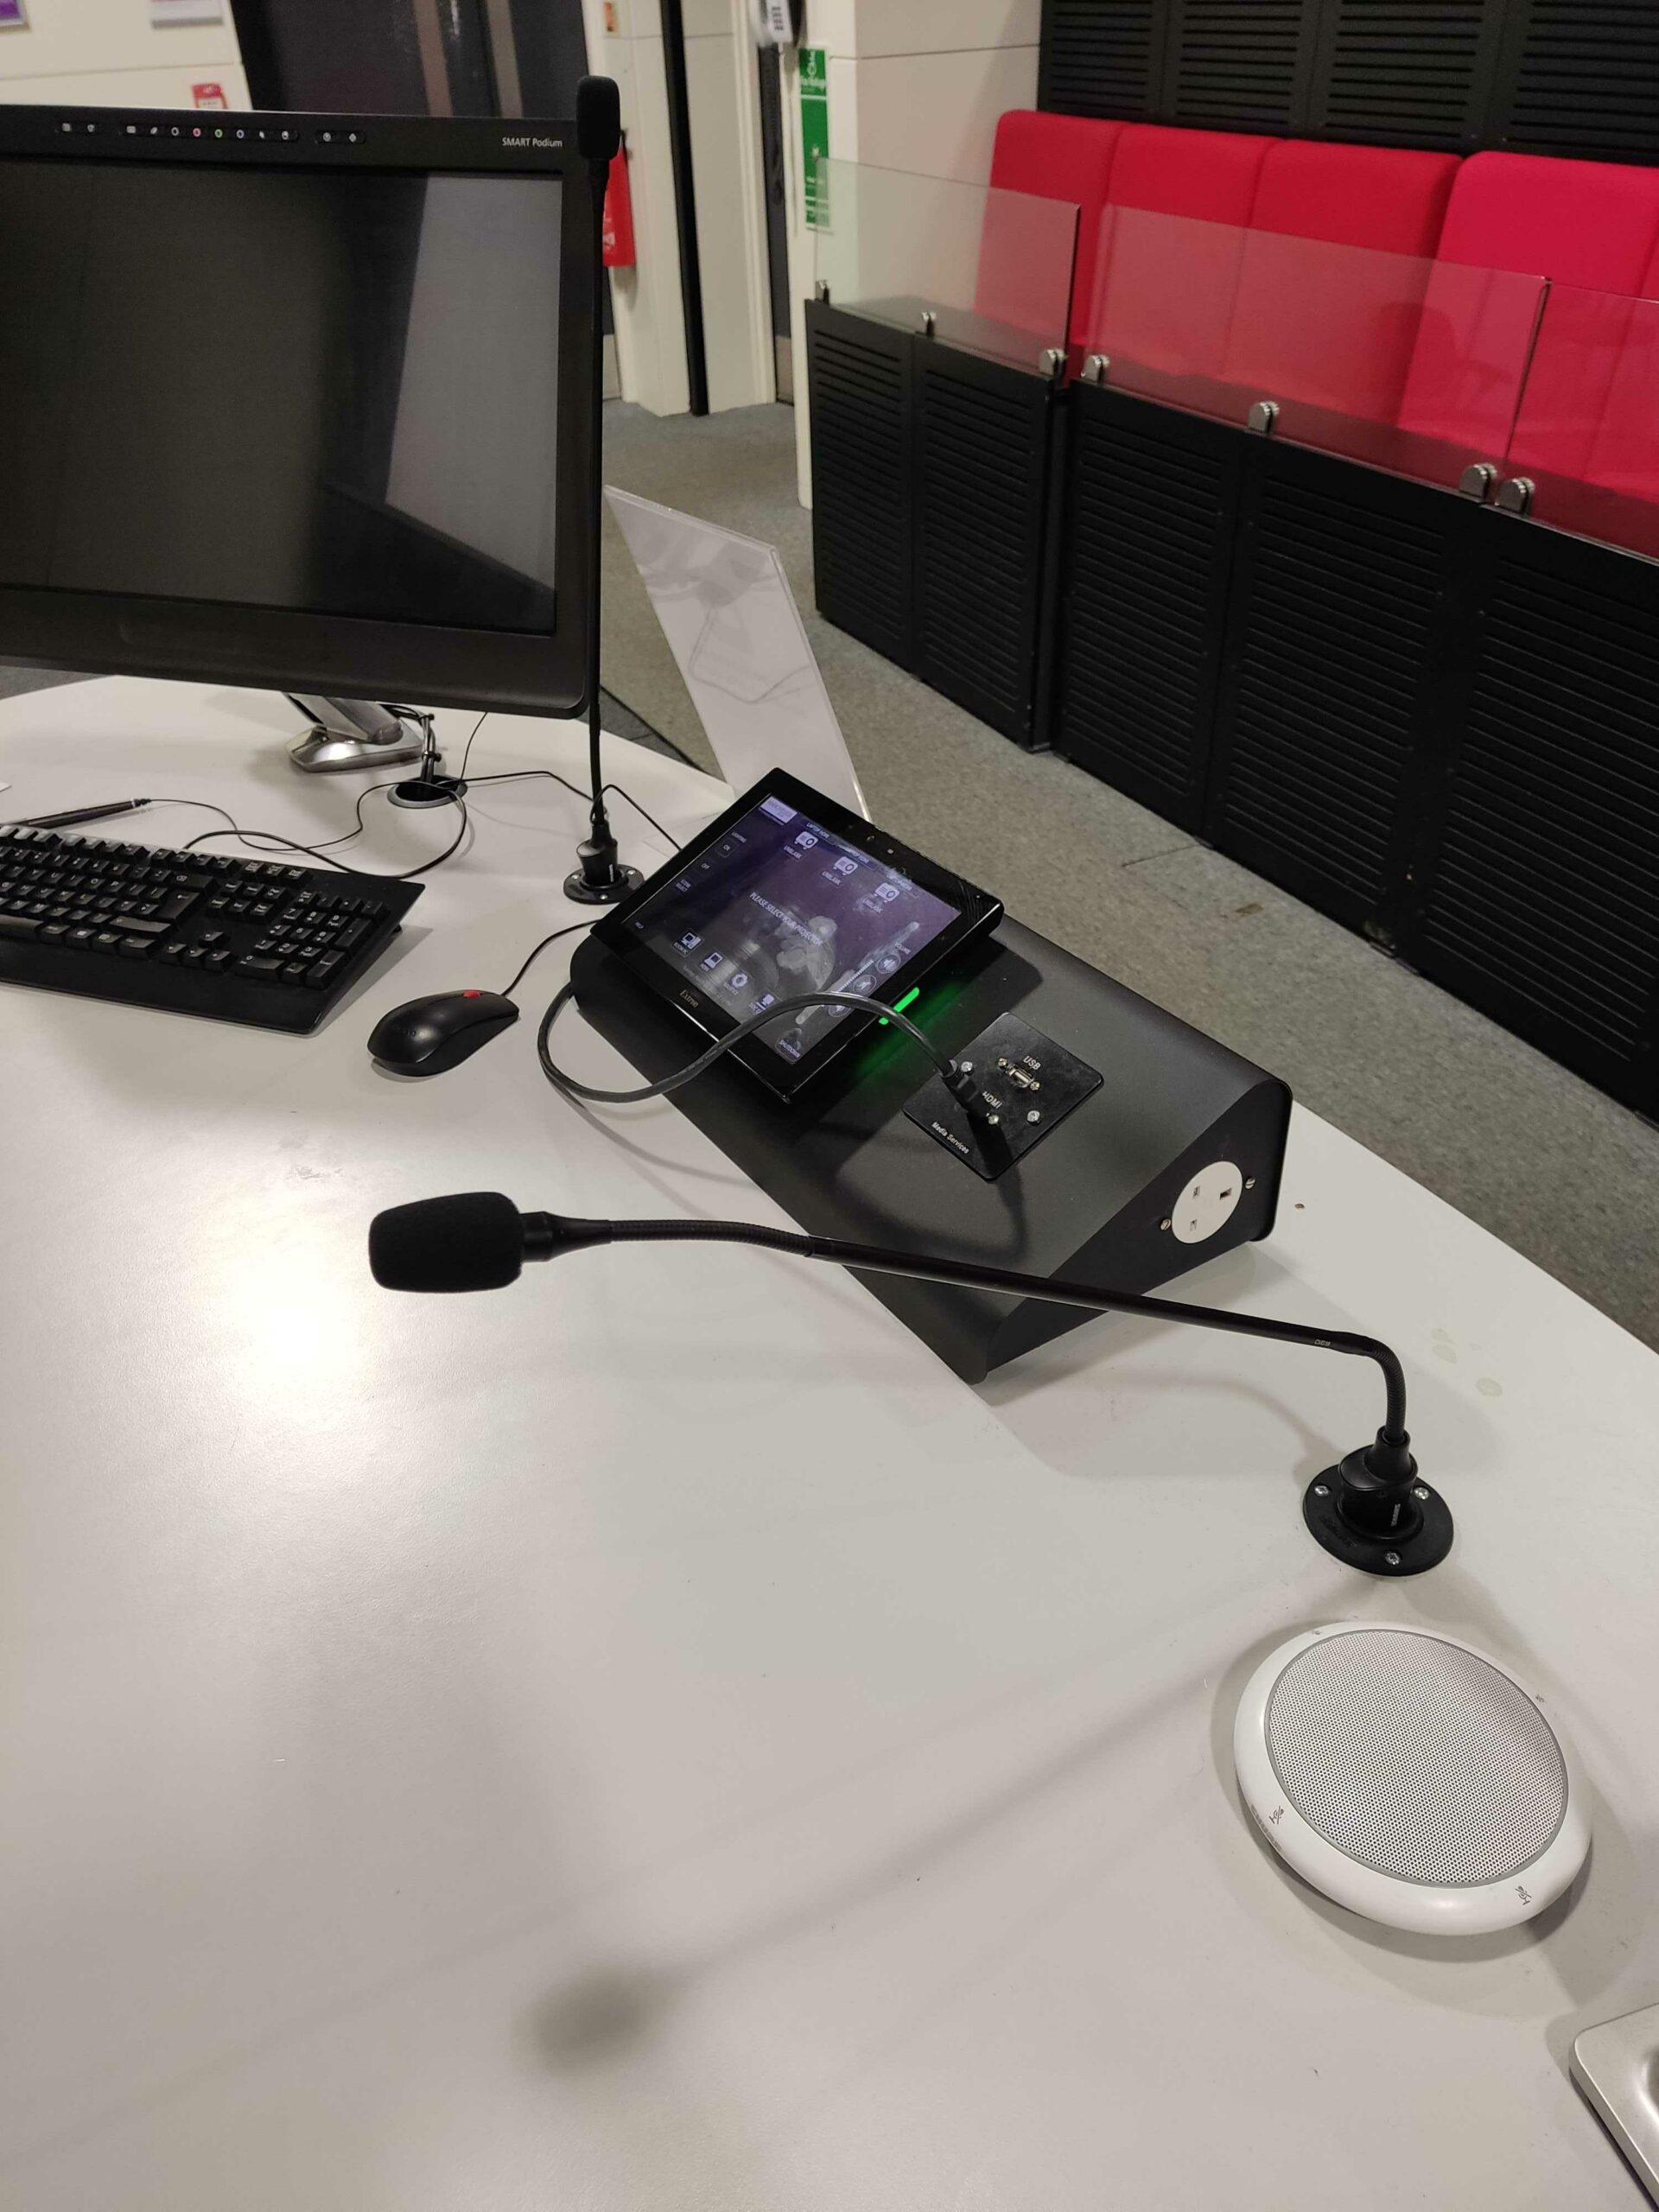
The first step in ensuring audio is recorded in the podcast is to turn on/unmute the mics from the control panel on the desk. The icon/switch for enabling the microphones can vary depending on the version of the control panel, but in general there is usually an ON/OFF button, as indicated in the image shown.
This will enable the Podcast to contain audio recorded from either the desk ‘gooseneck’ microphone, or the wireless microphones if they are used.
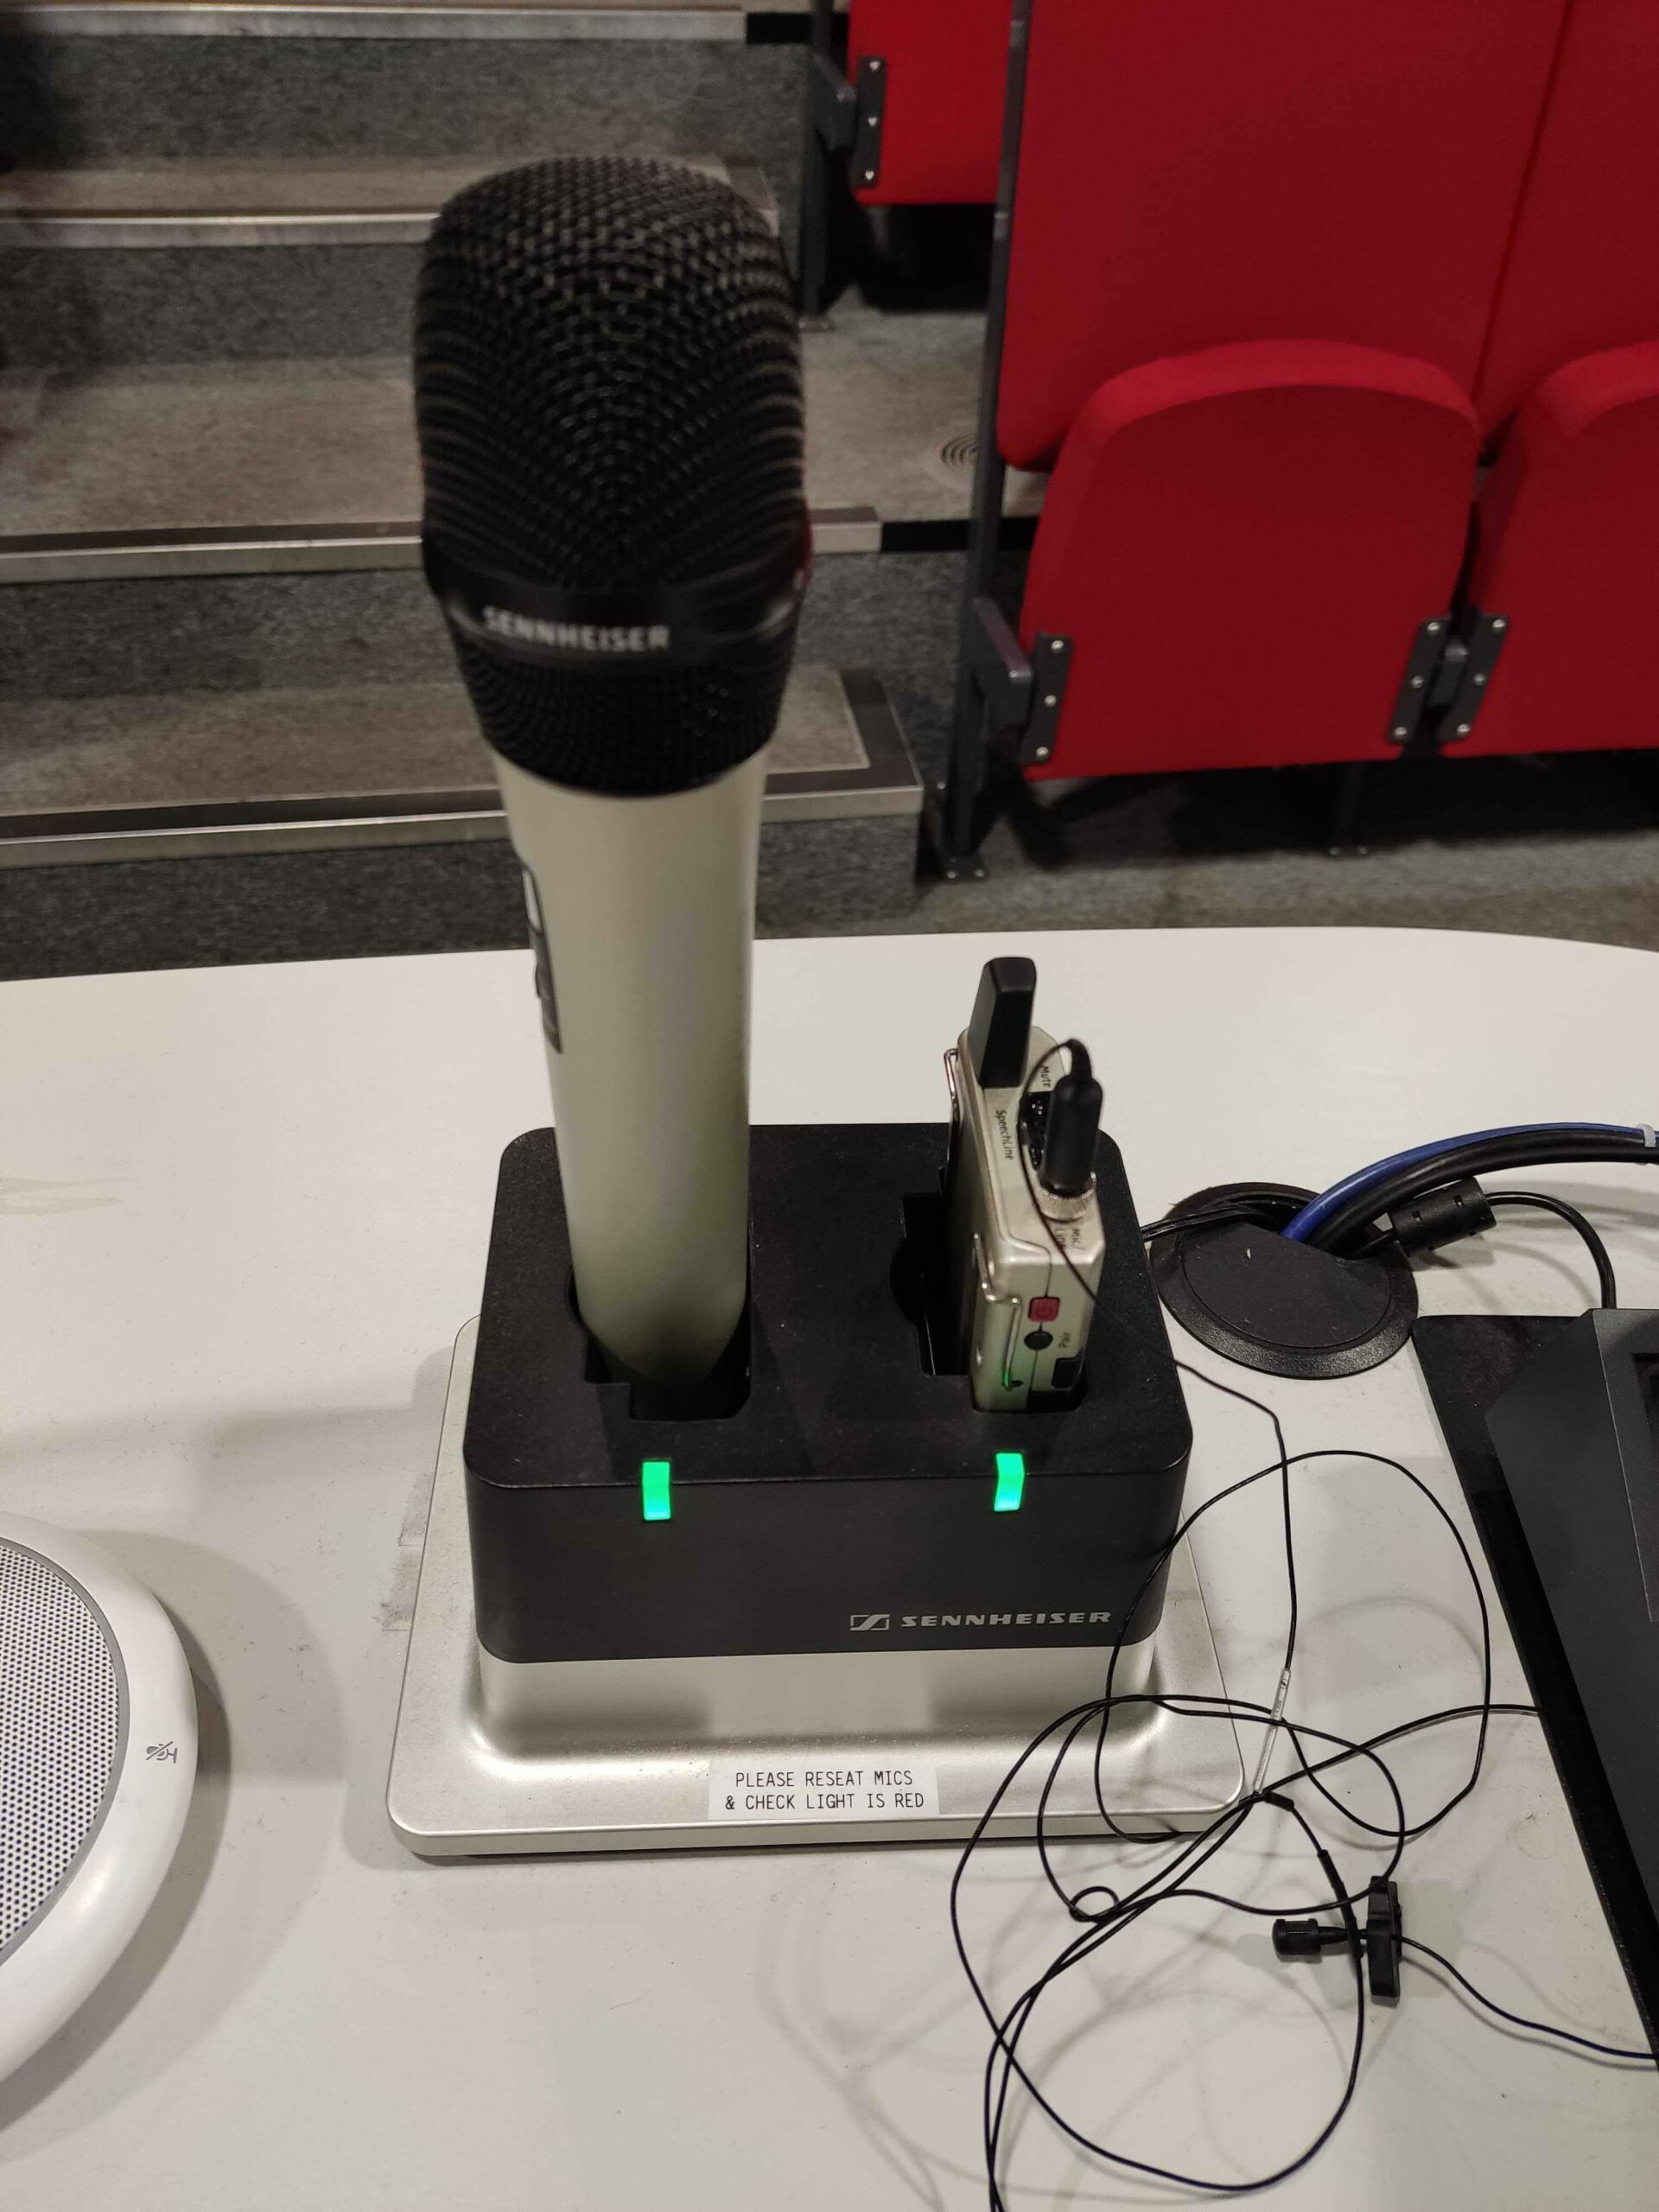
In the majority of rooms you will find the wireless microphones located in a charging station on the teaching desk. Removing the microphone from the cradle should cause them to switch on automatically, indicated by a red light on the unit. Once the light turns green, the microphone is connected and ready to use.
Each microphone unit (the handheld and the lapel) have their own mute switches, as shown in the images below. You must ensure the mics are not muted during your teaching, to ensure the audio from them can be recorded as part of the podcast.
In some older locations, the wireless microphone may be battery-operated and simply present on the desk (as shown in the last image below). For these units, you must open the front panel on the microphone and press the power button to turn them on. Again, these microphones also have a mute switch located on them.
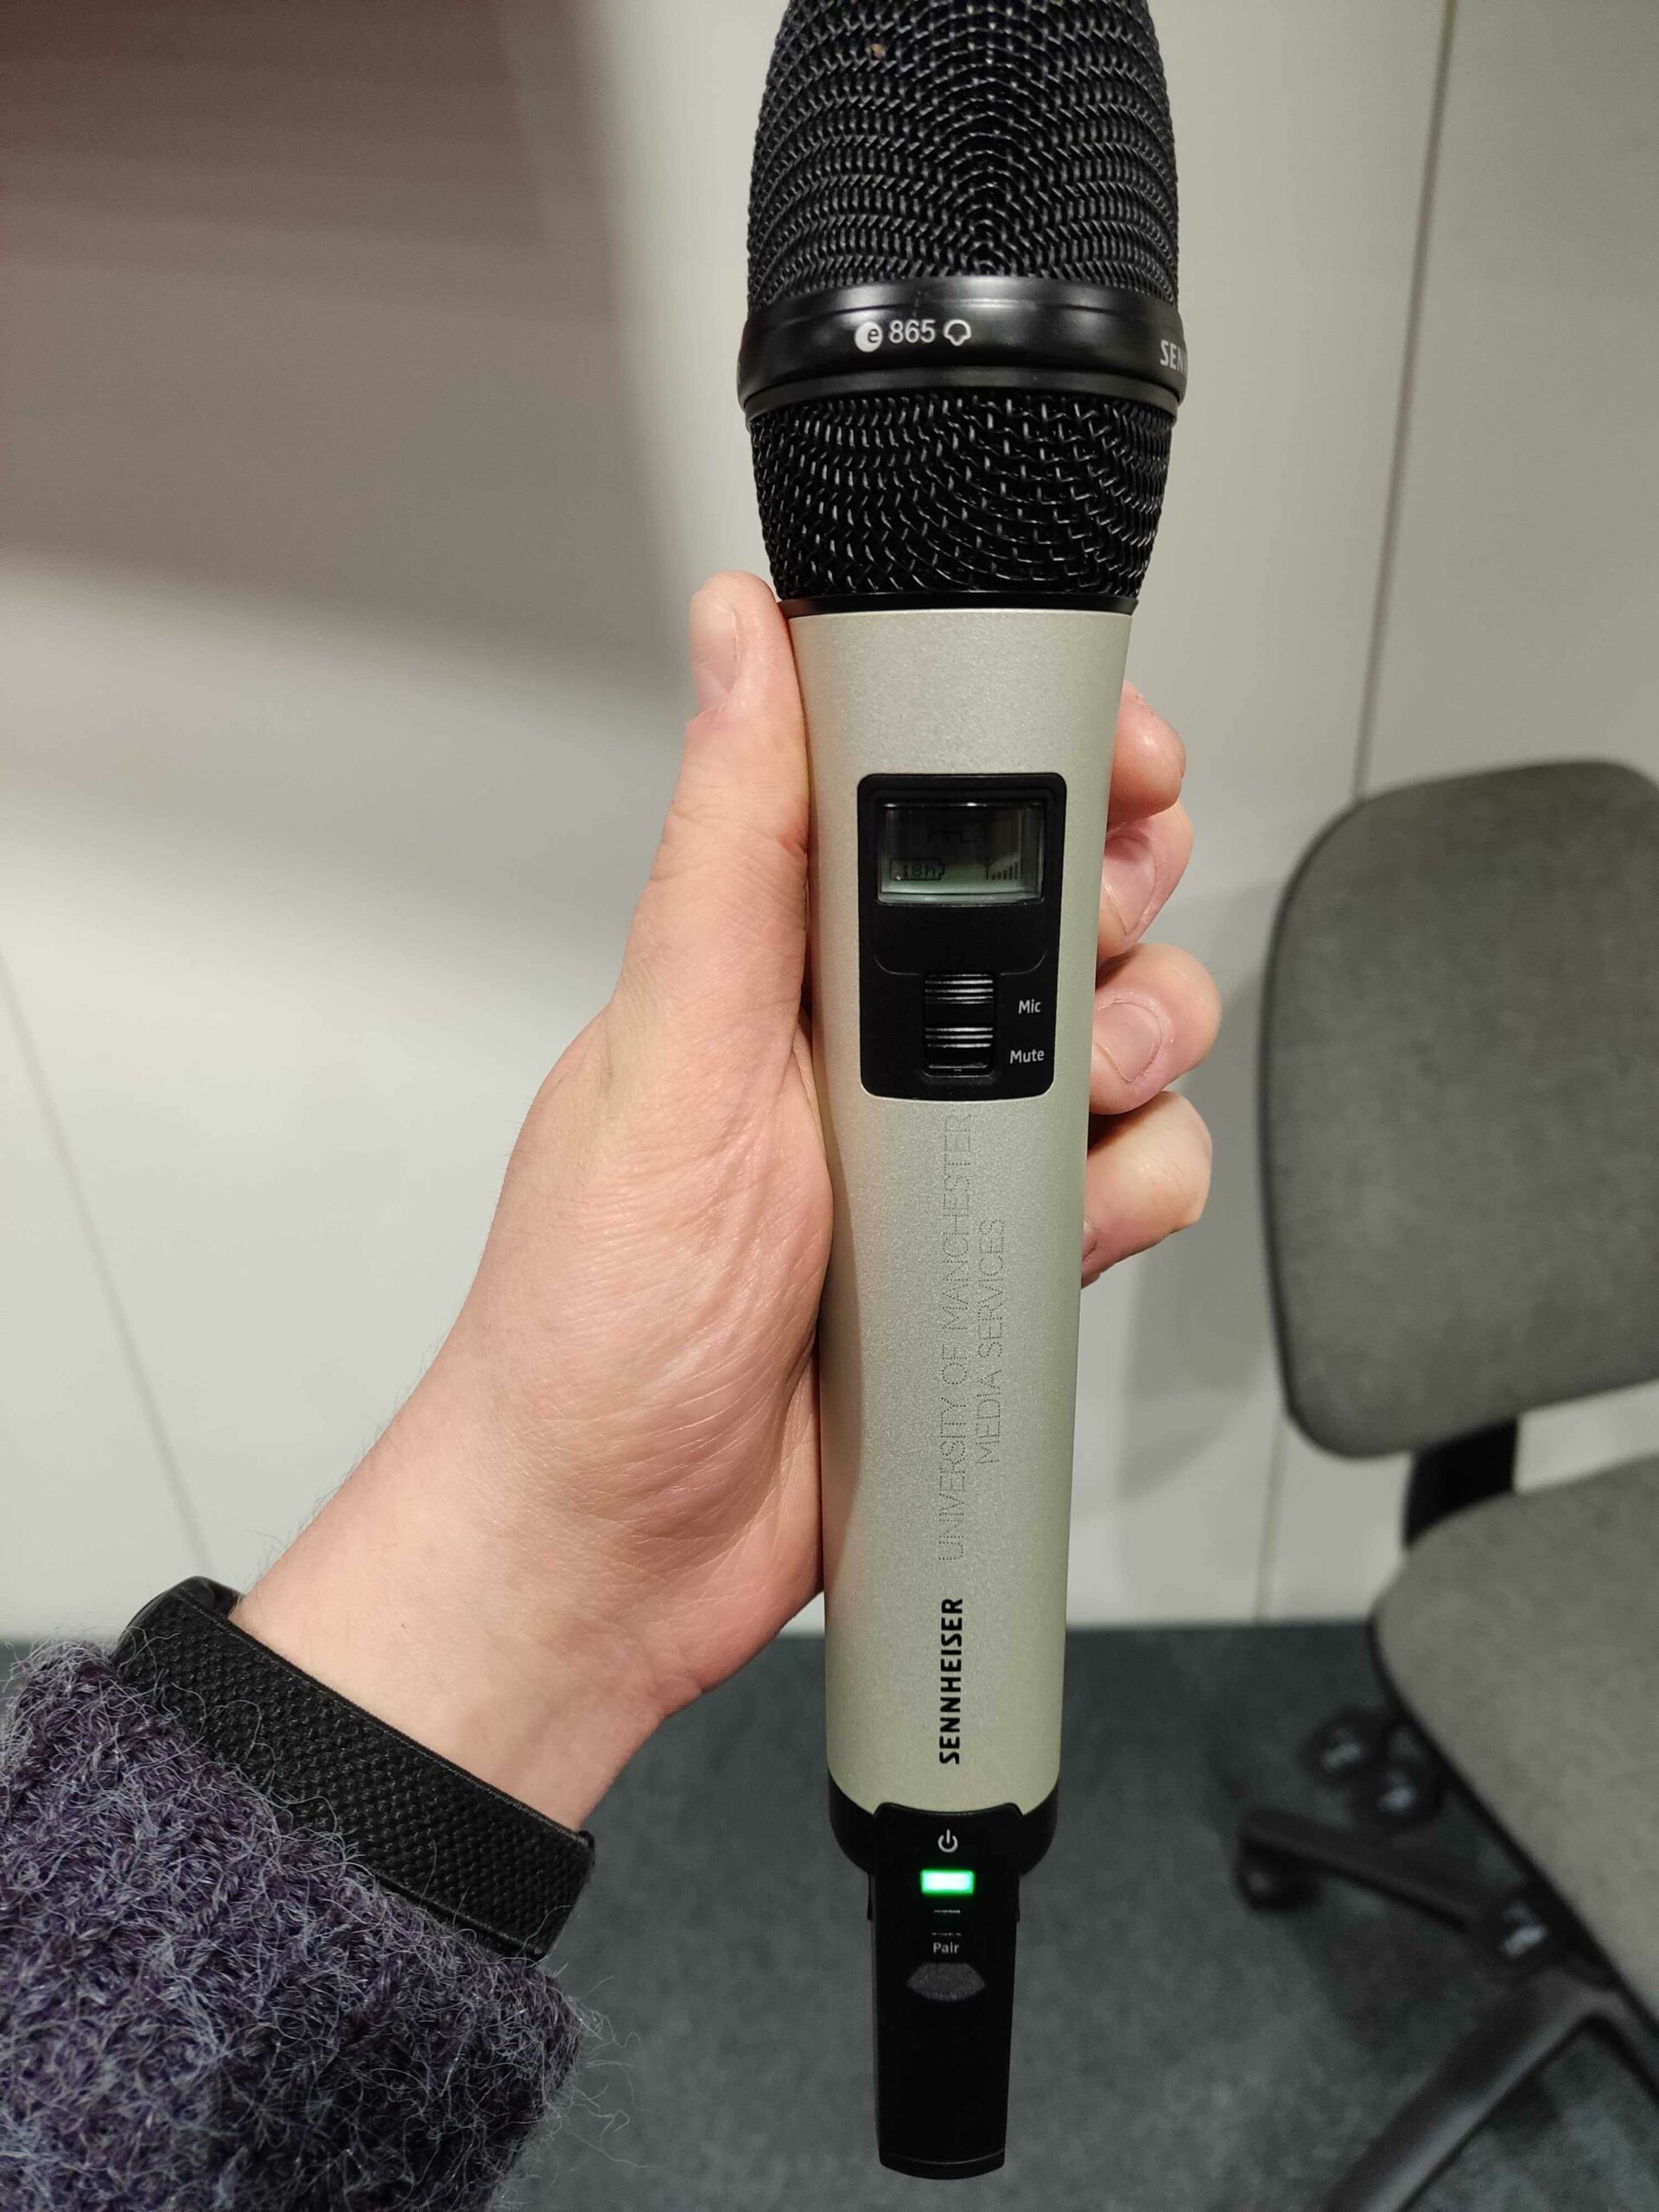
mute switch on front
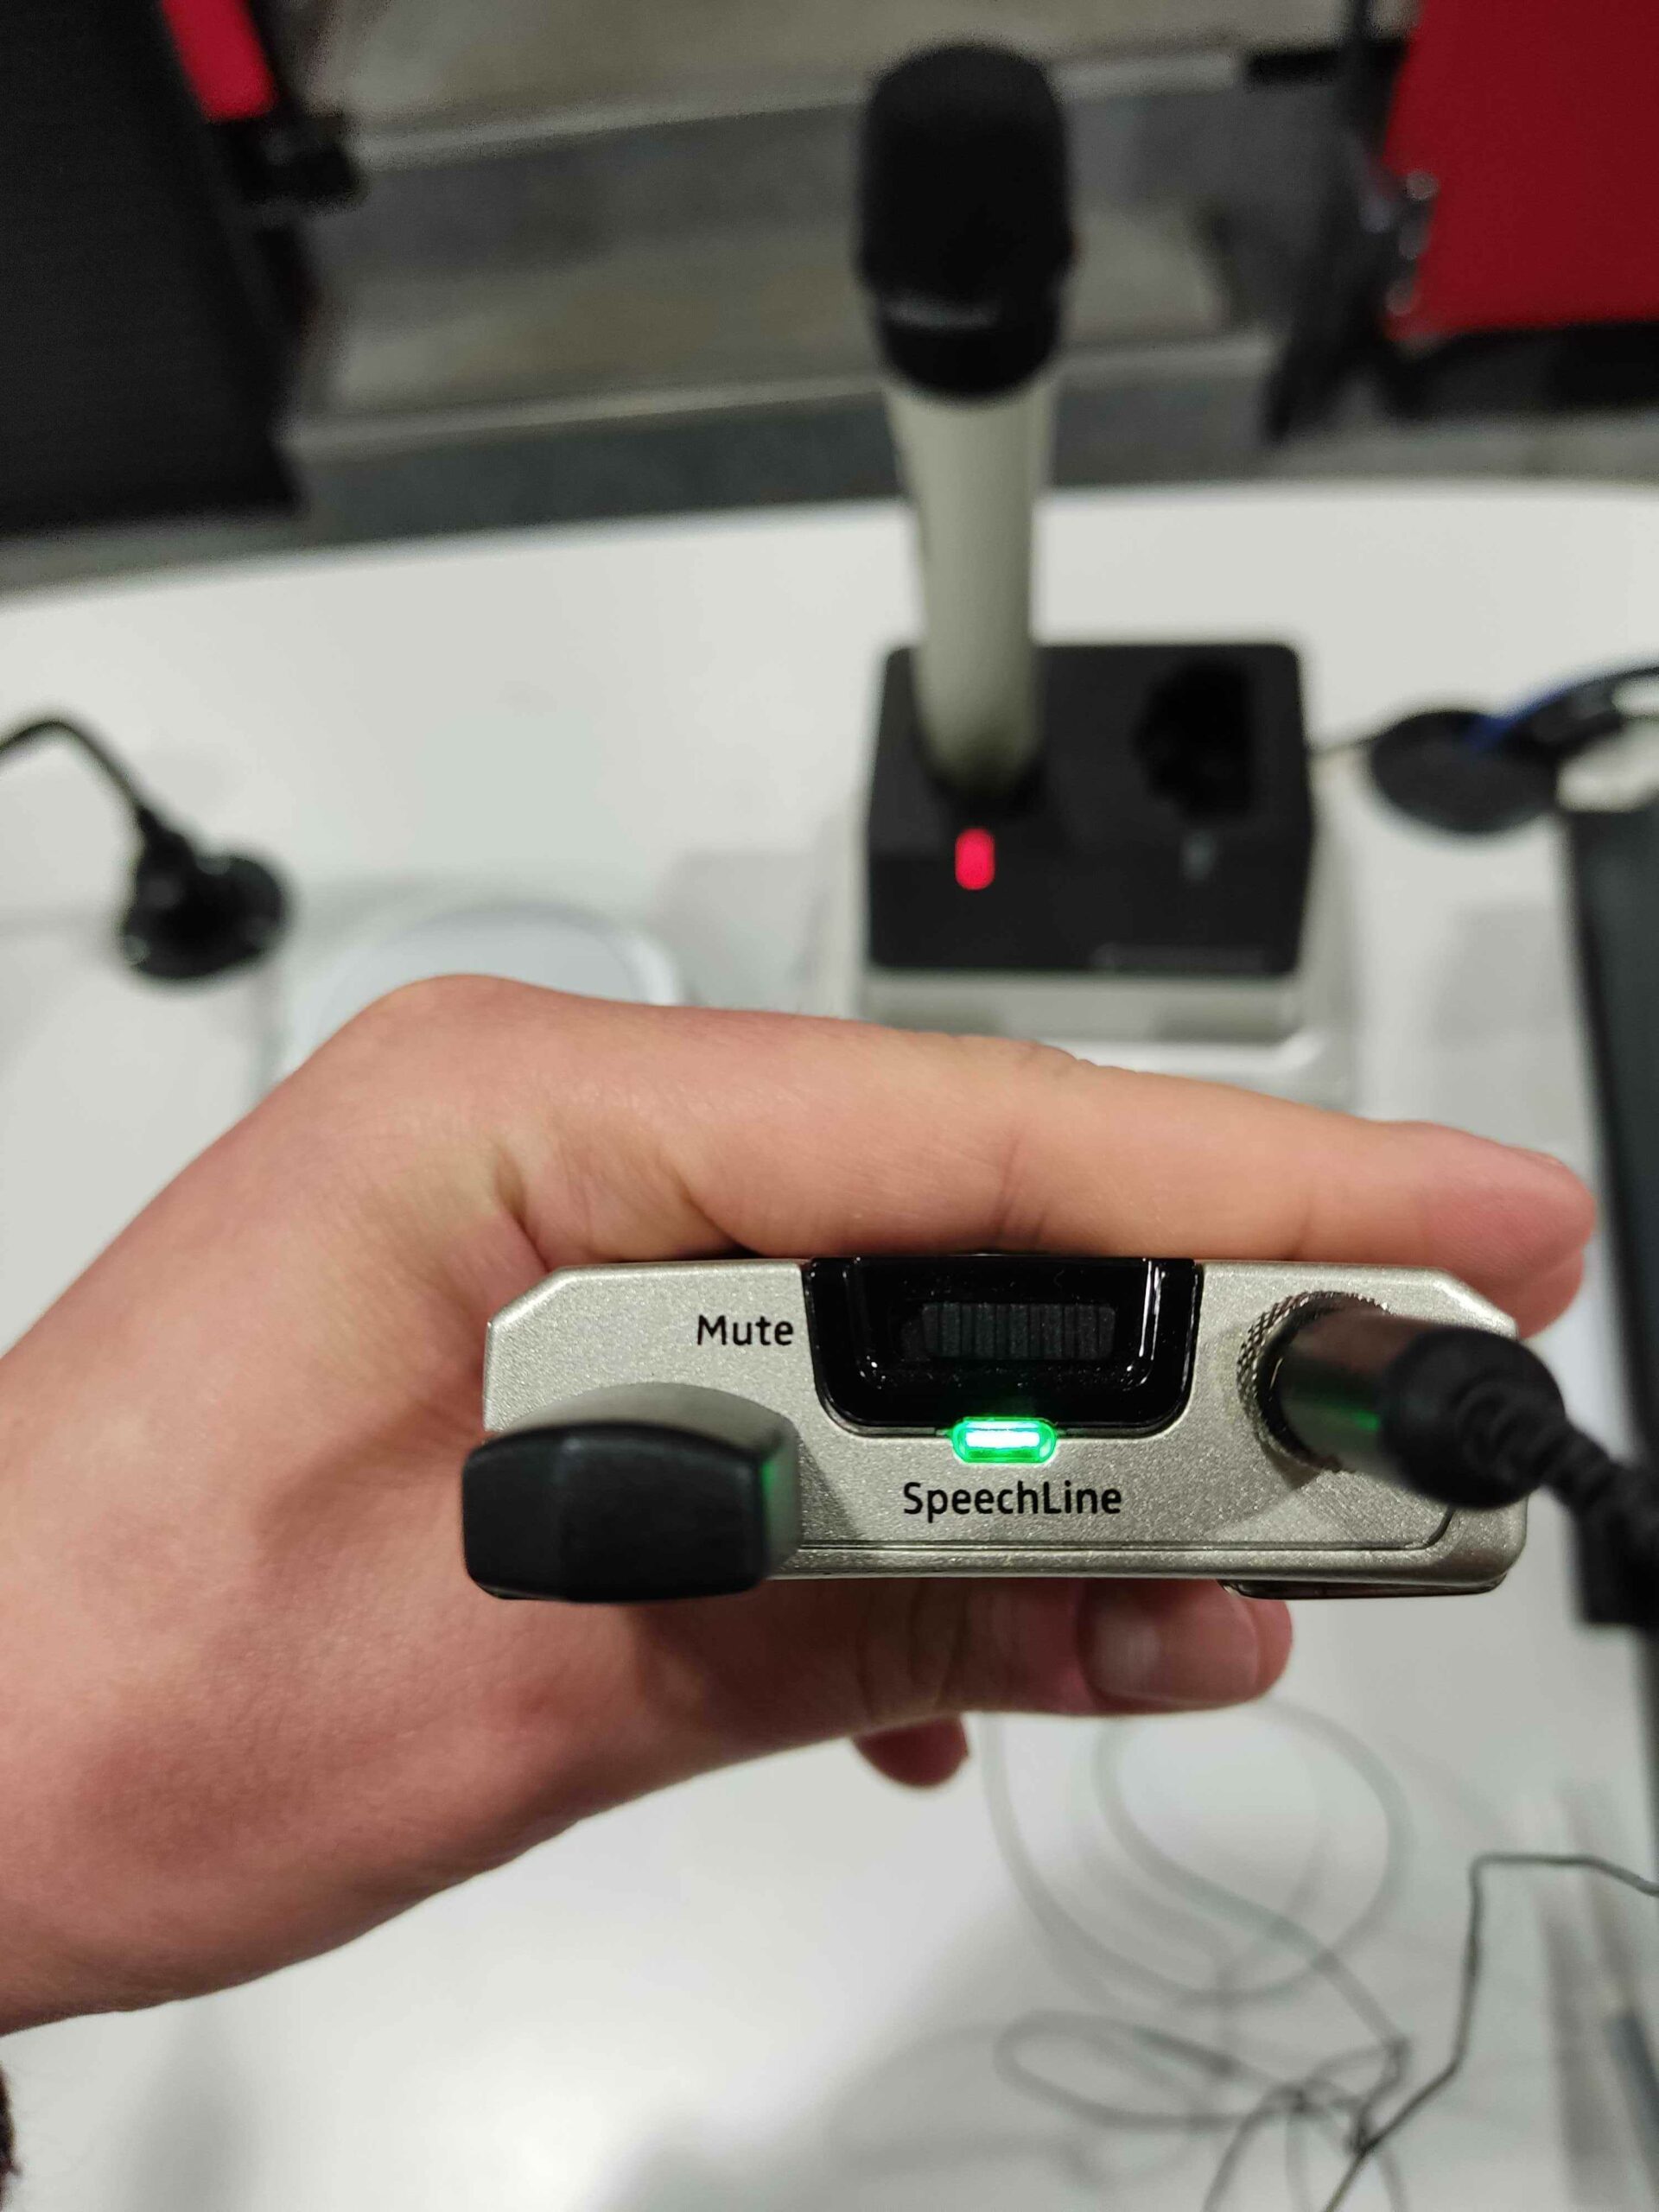
mute switch on top

Other microphones – USB/Ceiling
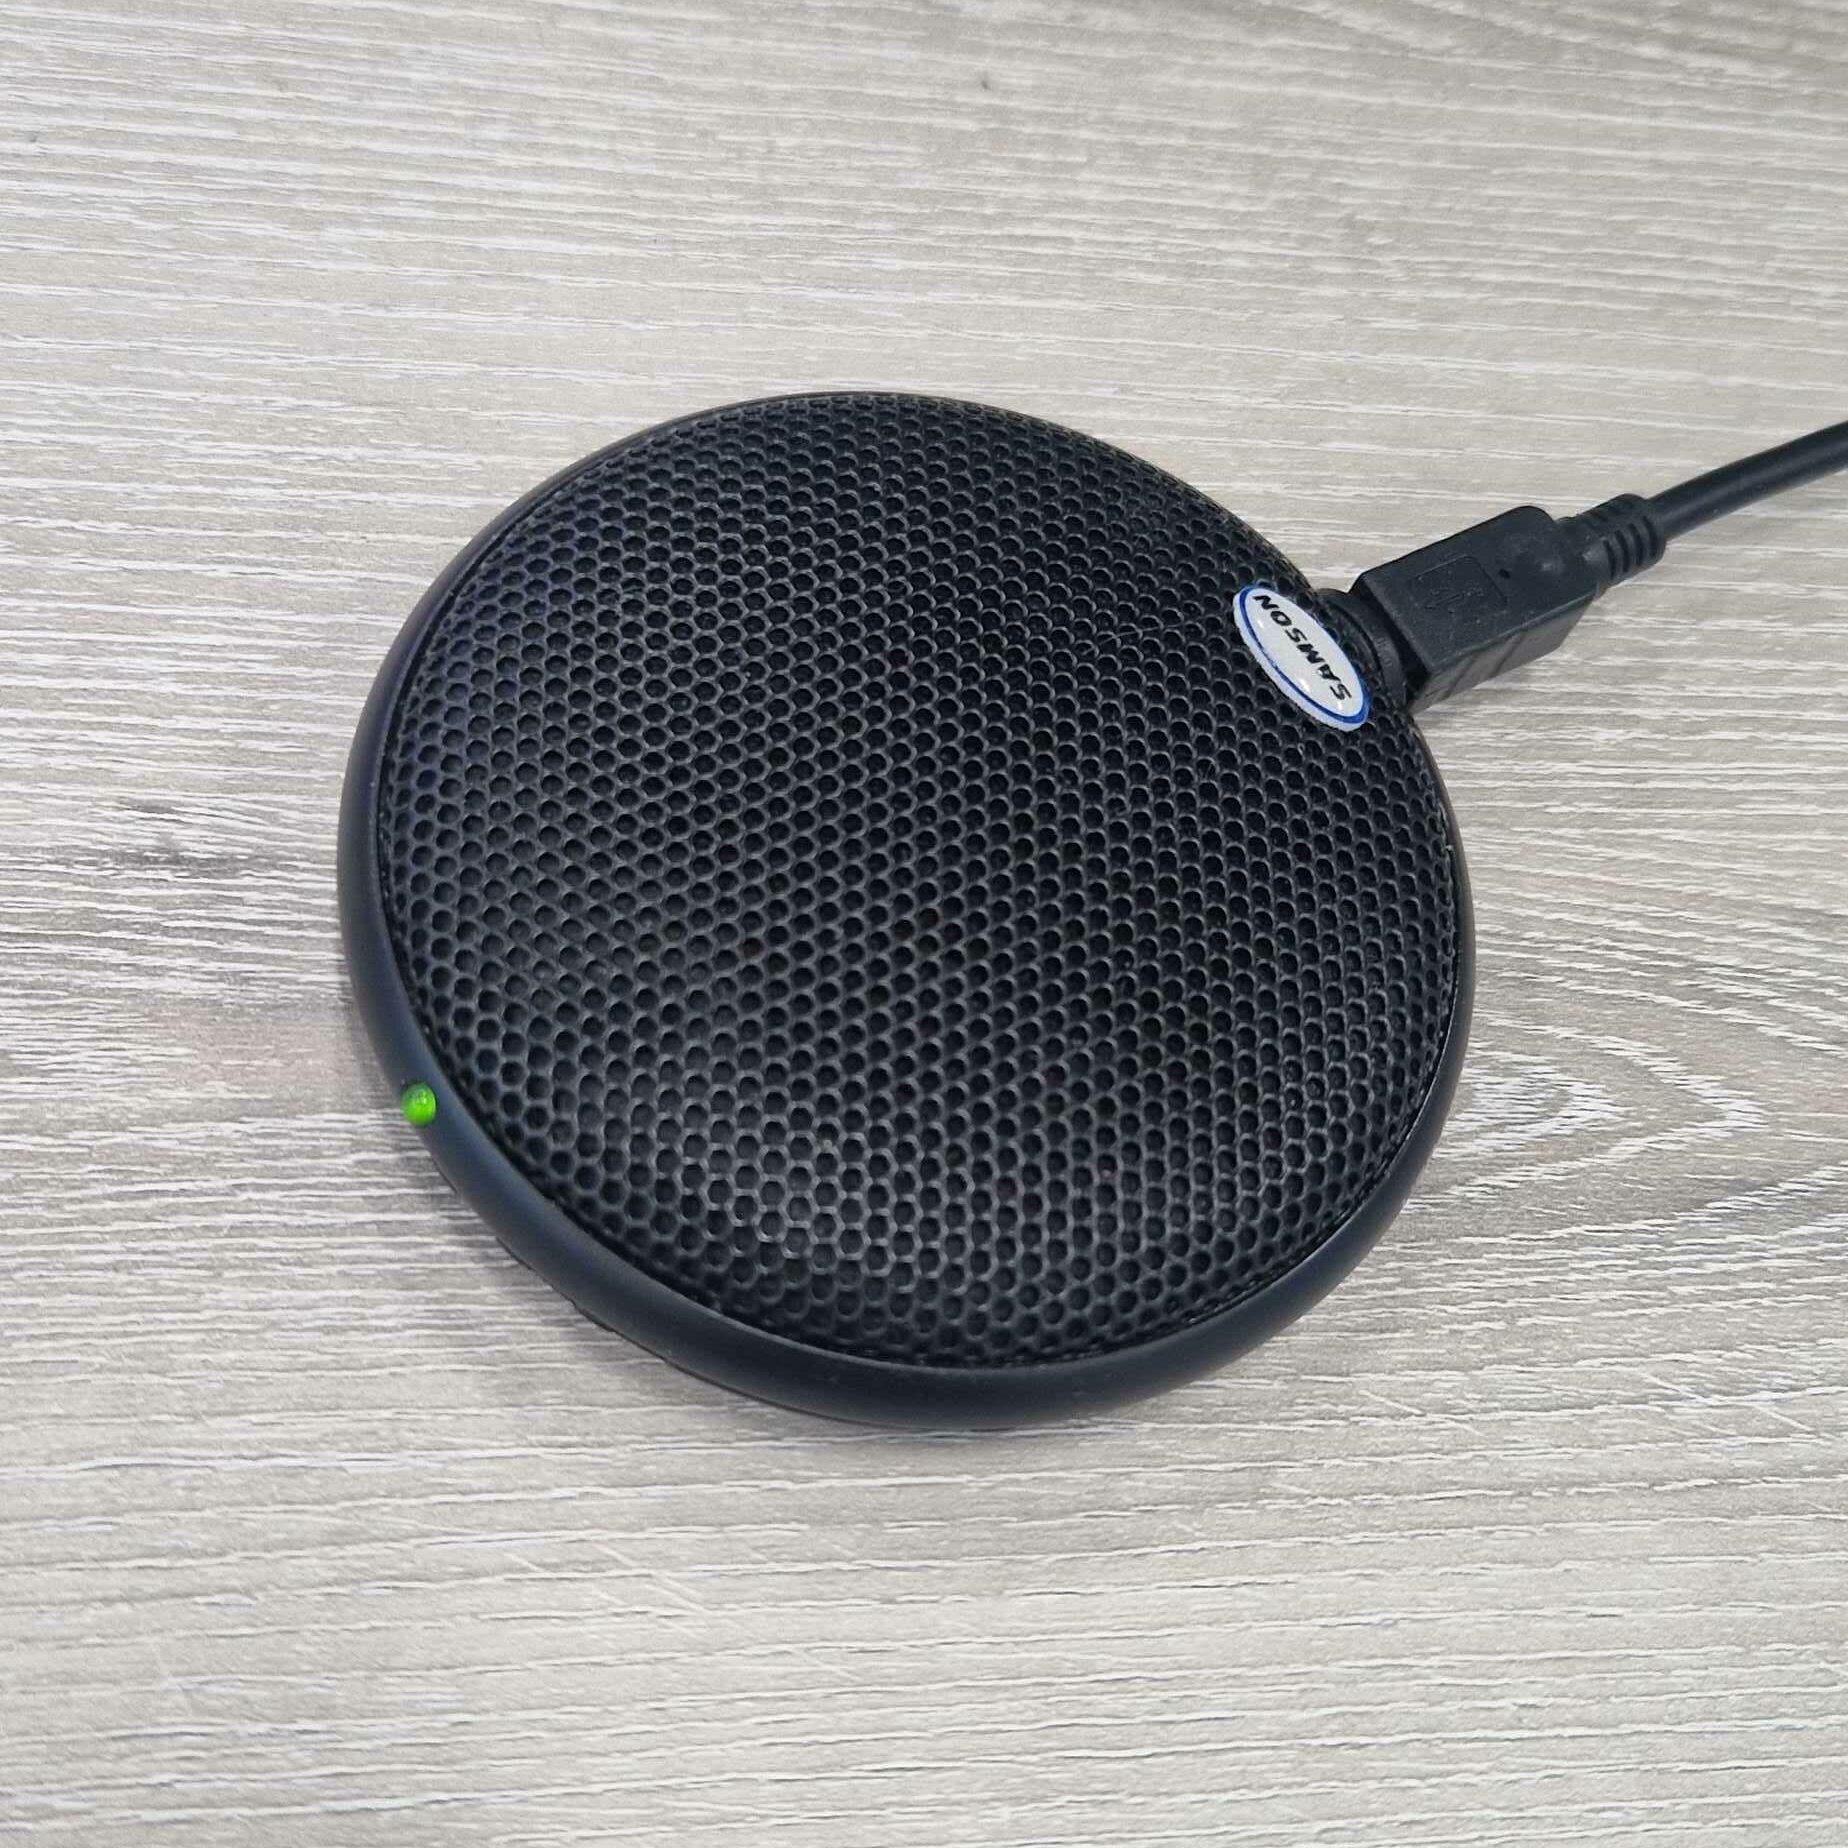
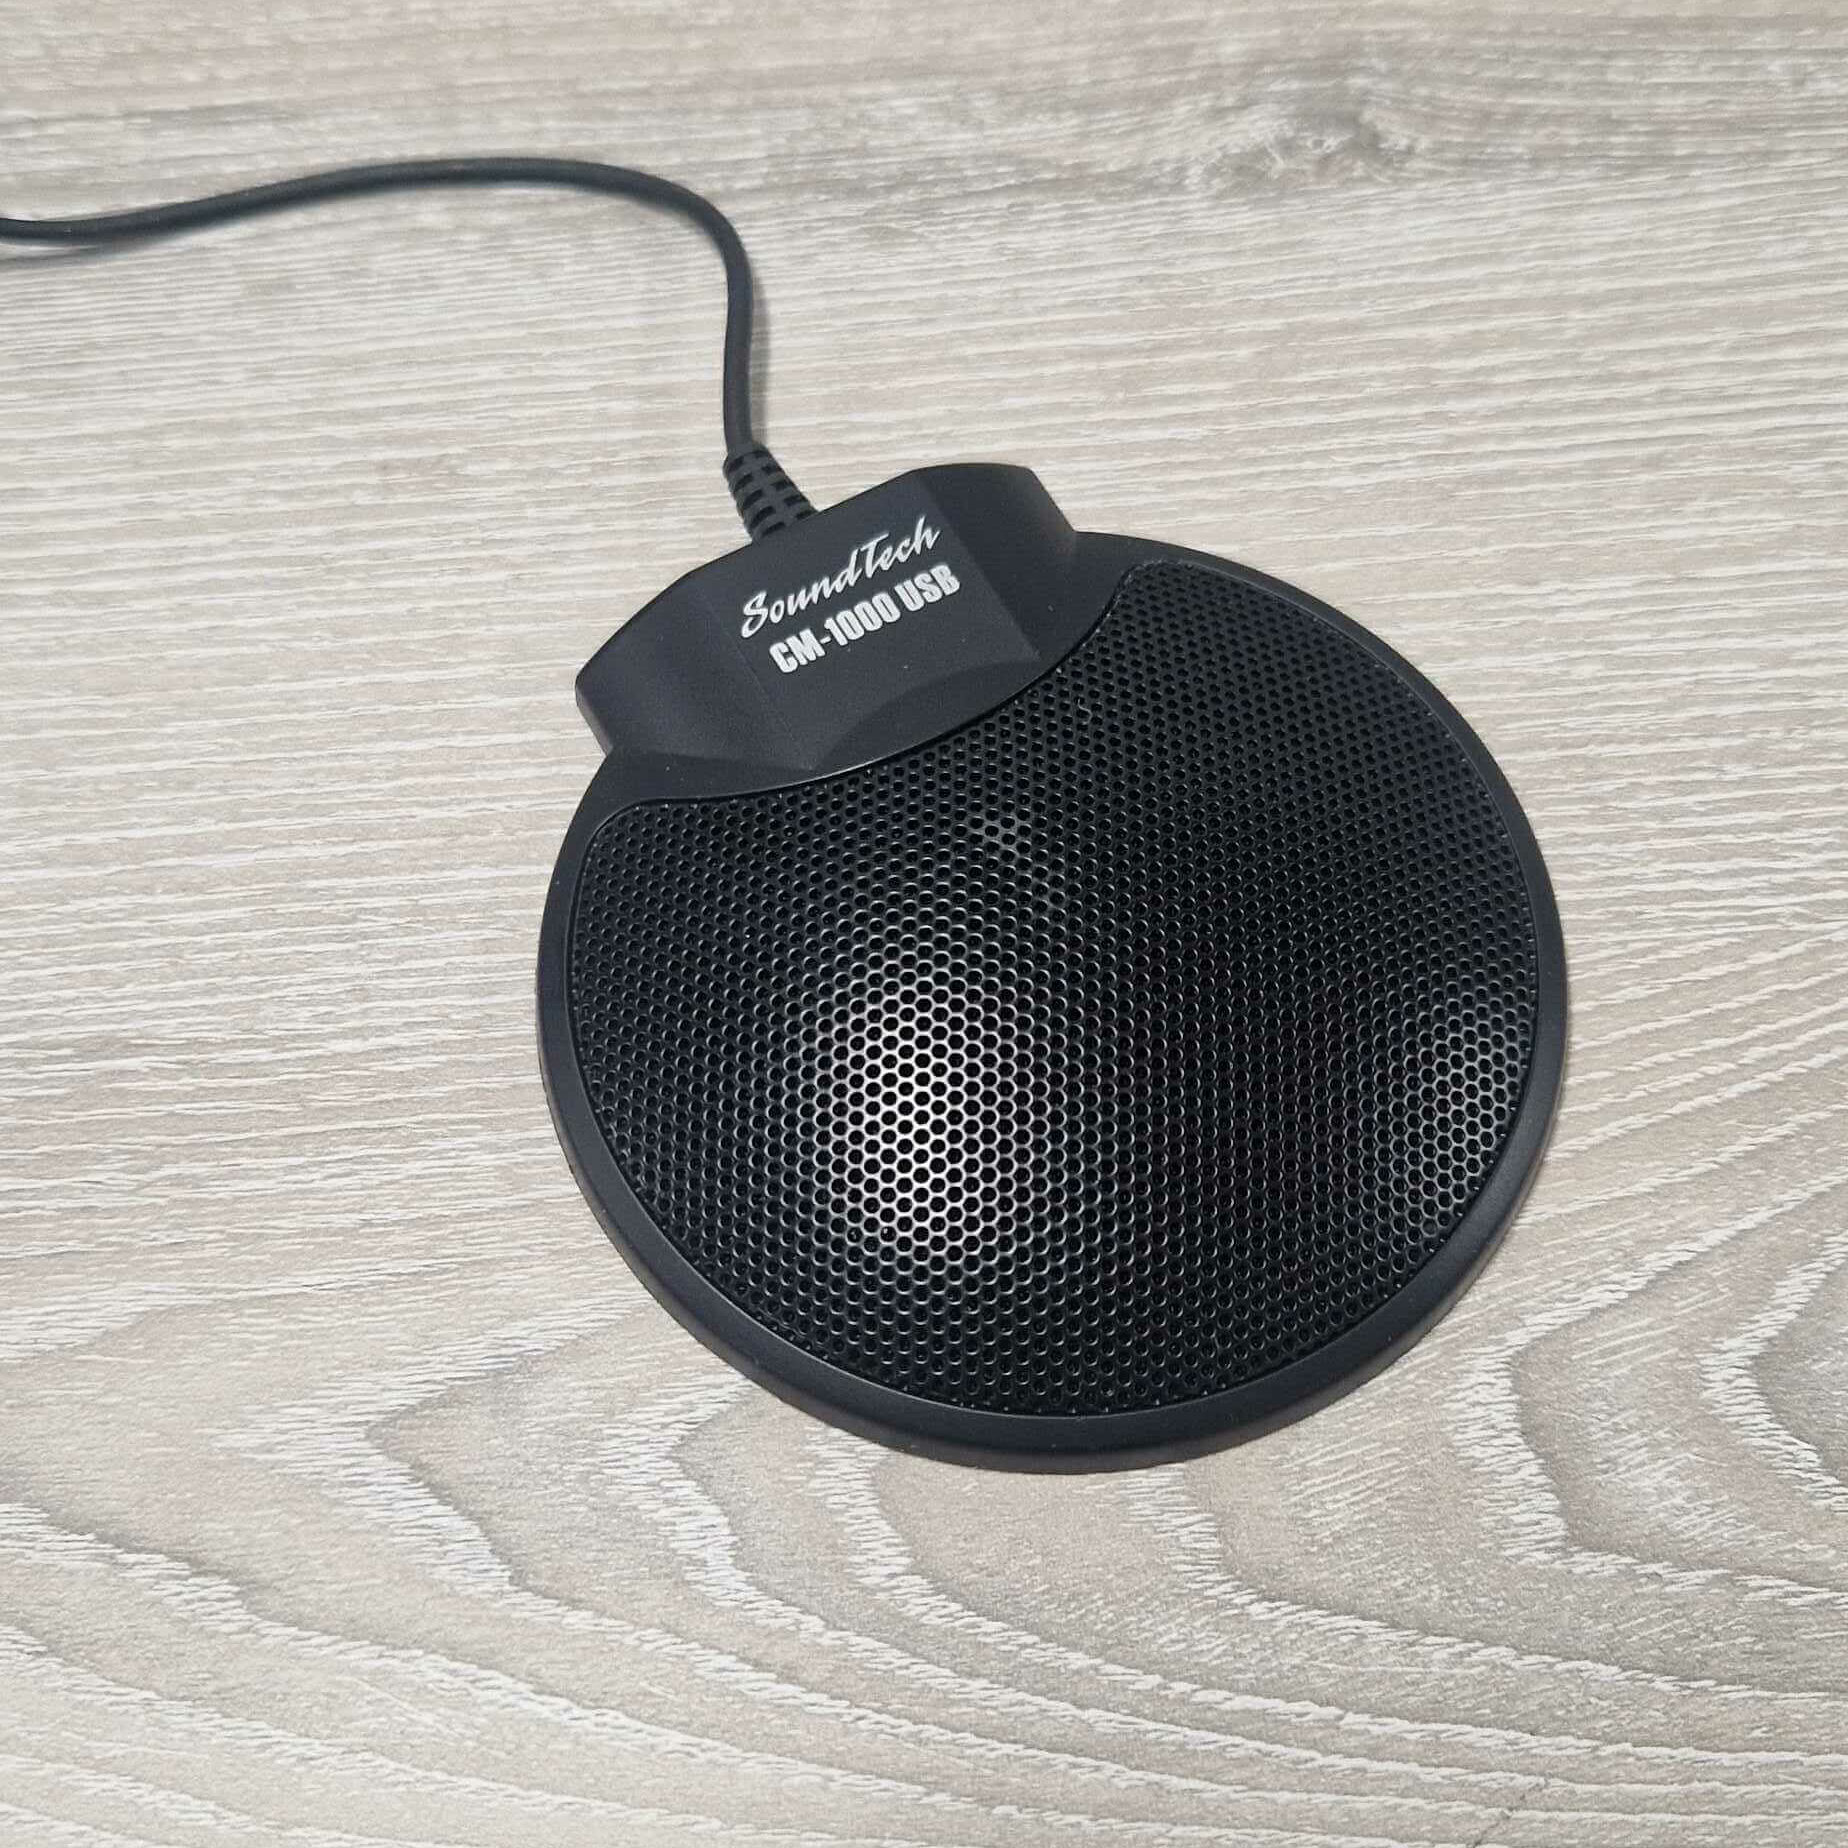
In rooms where it is not possible to record audio from a desk/wireless microphone, the Podcast system will record audio from a boundary microphone sitting on the teaching desk. These microphones are ‘always on’ and will record audio from all directions, meaning that ambient room noise will be captured and staff are advised to stay close to the mics during the lecture to keep audio quality consistent.
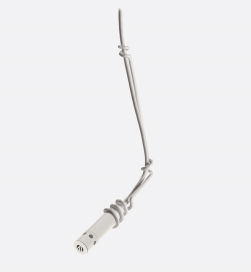
Some of the rooms in the Engineering Buildings have microphones suspended from the ceiling; these have been chosen to ensure that audio coming from all angles can be recorded.
Apple Devices/Copyright Protection Issues
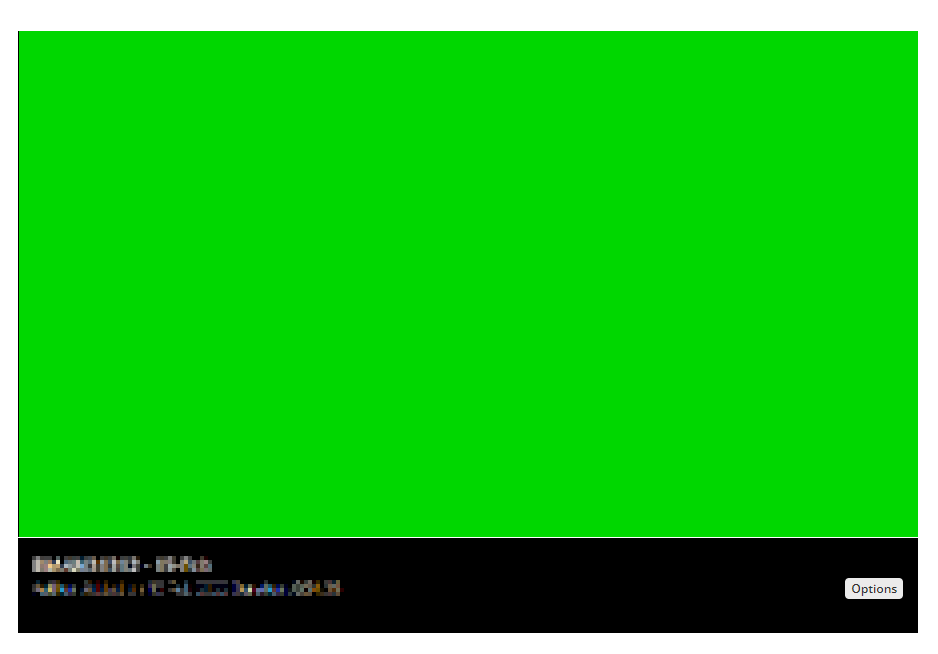
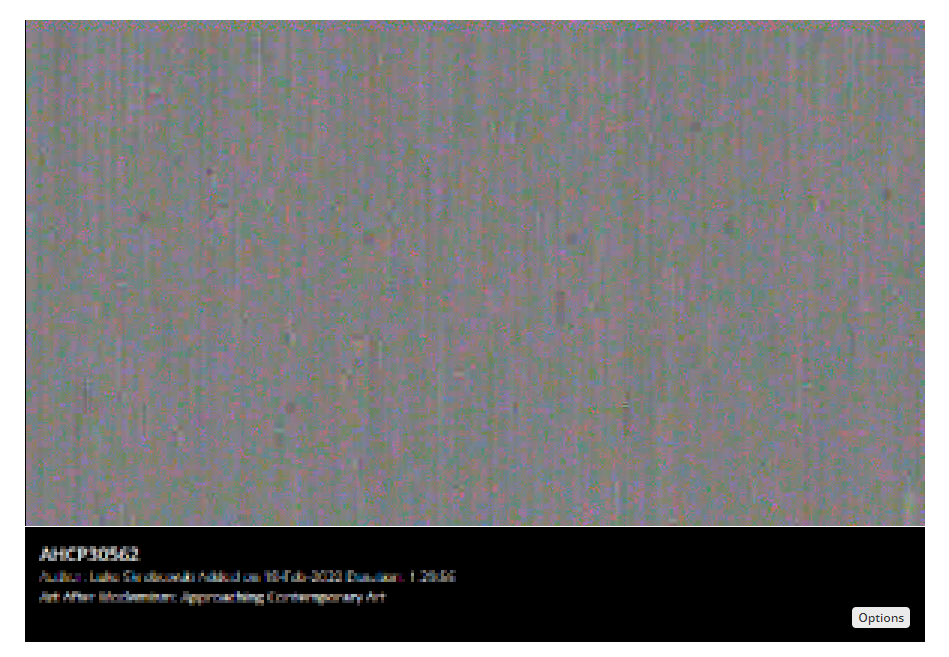
If you are using an Apple device to connect to the projector in the room via HDMI cable, the video signal is likely not to record due to High-bandwidth Digital Content Protection (HDCP) being enabled. HDCP is a form of copyright protection specifically designed to prevent the recording of screen content. Although the projector in the room will display your device as expected, the resultant podcast will have only either a green screen, or distorted static (as shown in the images below).
Use VGA where available
Connecting your Apple device via VGA (with an adaptor, and in rooms where VGA is still available) will prevent HDCP from being enabled and ensure video can be recorded in the podcast.
If there is no VGA connection in the room, there may be a wireless option called Solstice (sometimes shown as “wireless display”) which can be used to display your Mac wirelessly. Details for this can be found in the section below.
No VGA/Solstice available?
If there is no VGA connection and no Solstice/wireless display option available, it is advised that you use the teaching PC in the room to ensure video is recorded as part of the Podcast.
Which adaptor should you use?
Some adaptors have been found to overcome the HDCP issue (such as this Belkin USB-C adaptor) but we are unable to guarantee which adaptors will work, or in which rooms, as there is a wide configuration of A/V systems across campus.
Solstice Wireless Display
In some locations technology called Solstice has been installed and this allows you to connect and project your device wirelessly. If a location has a solstice pod installed, it is recommended that macbooks are connected using this to prevent HDCP issues.
The Solstice display system is not supported by the Podcasting team, but details and support can be found on the following site: http://www.solstice.manchester.ac.uk/.
Live editing via the Pause QR Code
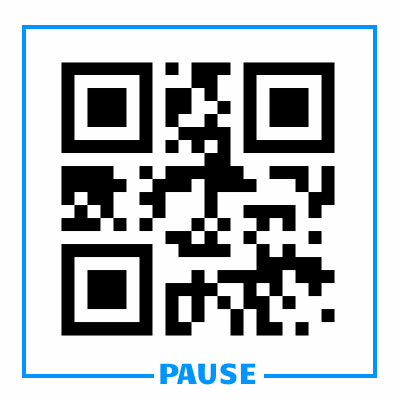
The podcasting system can detect a specific QR code which, if correctly displayed, allows the recording to be paused. Right-click on the image below to download the QR code (right-click and choose “save image as”).
We recommend you display the Pause QR code at the beginning and end of your lectures, as well as during any breaks, in order to ensure that only teaching content is recorded. Using the QR code in this way can also prevent the need to further edit the podcasts.
In non-video camera locations – when the QR code is used, the system automatically pauses the recording for as long as the QR code is displayed and resumes once it is no longer shown. Note that using the QR code to pause recordings will also remove content for any DASS students on the course and should only be used when appropriate, for example when there is a break during a lecture, or before the lecture begins.
In video camera locations – only if the video camera is used – rather than pausing the actual recording in real-time, when the QR code is displayed its timings are stored in an edit file, which is then used to remove those sections when the recording is being processed. The original, unedited recording is stored by the system so if it is recalled for editing – the full, unedited version will be available to edit.
Further details on the Pause QR code can be found on the Pause QR Code FAQ page.
External Guest Speakers
If a guest/external speaker will be delivering lectures as part of a taught course unit – you need to ensure that you obtain their consent to record their lectures. The following consent form has been provided for you to be completed by the guest speaker, and should be stored for your records. Click here to download the consent form.