Lectures which are part of a course in the timetable are automatically scheduled to record with the podcast system. Other event types such as tutorials, seminars, workshops, etc. are not automatically recorded and need to be manually scheduled to record if they are required.
Before manually scheduling a recording of an event, please note the following:
- The event needs to take place in a podcast-enabled location (see locations for a list) and be scheduled in the timetable
- Bookings should be made at least 24 hours in advance; we cannot guarantee a recording will be made if it is booked less than 24 hours in advance
- Only members of staff can schedule recordings for non-lecture events
- This tool does not track events in the timetable if they are moved – so if an event is relocated the original request should be cancelled and it should be re-booked
If the event is part of a course unit – the recording will be published alongside the podcasts for that course. If the event is not part of a course, it will be published in the Ad Hoc area of the Video Portal. In either case, the system will send an email to the addresses specified when scheduling the recording (more details are given below).
How to use the Podcast Schedule tool
- Access the Podcast Schedule tool, logging in with your University username and password.
- Select the location where the event is taking place from Location drop-down box.
- Navigate to the date of the event on the calendar. You can click the ‘show weekends’ button to display weekend dates and events.
- Click on the event you wish to have recorded and its details will be displayed.
- You can change the title of the recording; the default value is the name of the booking from the timetable. You can also add a description and adjust the start and end times of the recording within the range of the timetabled event. The names entered into the Author field will be displayed beneath the video when it is published.
- Some locations have a video camera installed which allows video footage of the event to be recorded in addition to, or instead of, the projector screen. Tick either ‘Screen’ or ‘Camera’ if you want only one recorded, or both if you would like the video and projector to be shown side by side in the podcast. If the Recording Input option is not present – this is because the location you have selected does not have a camera installed.
- If you wish to edit the recording before it is published please tick the “Edit/Review recording” option and input your email address to receive a link to the editor when the recording has been made (note you are able to add more than one email address by adding a comma ‘,’ between each). Only the email addresses supplied in this section will receive an email when the video is published on the Video Portal.
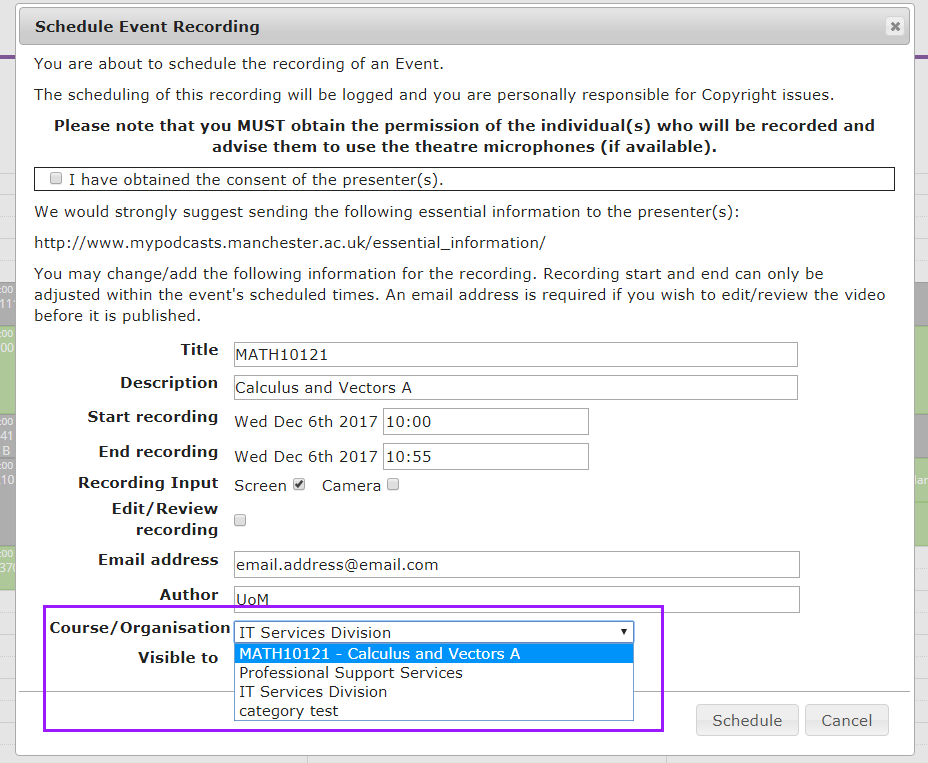
- From the Course/Organisation dropdown box select the area the video should be published to – this can be a Faculty, School or a course if you have access to these, as shown in the image below.
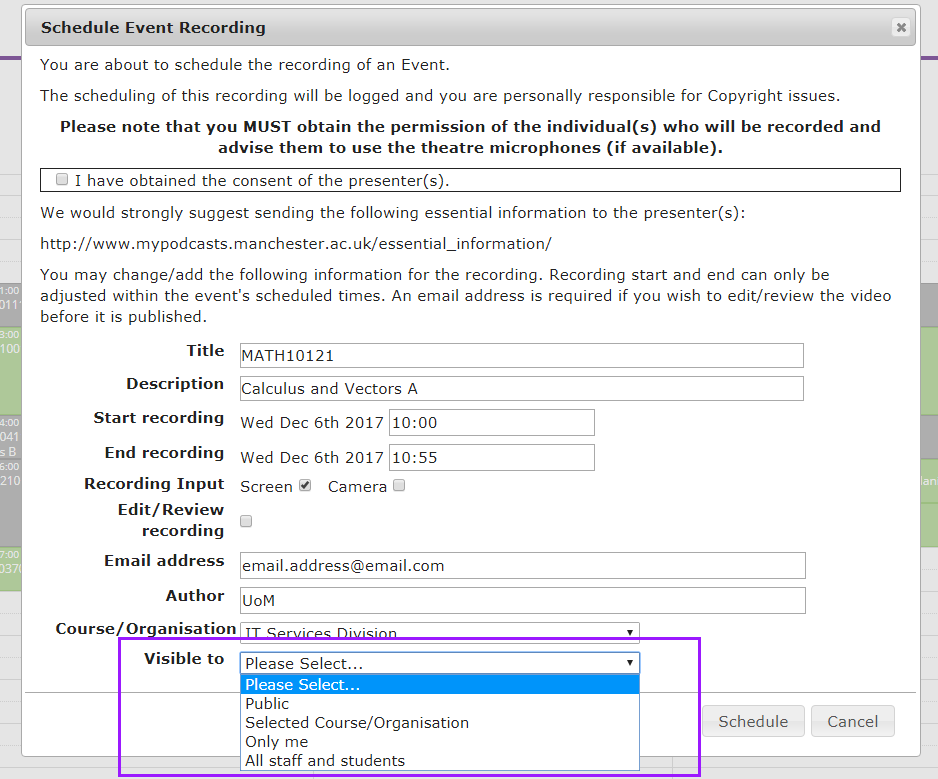
- The Visible to field can be changed if the video is selected to go into a Faculty or School area. In these cases, the video can be made public to all users of the Video Portal without logging in, all logged-in staff/students, just staff/students who are part of the selected Faculty/School or you can keep the video private so it is visible only to yourself (please note that system administrators will still be able to see the video). If the recording is made as part of a course – you cannot change its visibility settings, it will only be available to staff/students on that course. The options for visibility are shown in the image below.
- Once the recording has been made, an email will be sent containing either a link to the editor or the published podcast on the Video Portal.
Cancel a scheduled recording
There are two methods by which you can cancel a booked recording:
- Visit the My Videos page and switch to the Manage tab. Here you will see the scheduled event in the list, click the Delete button to cancel it.
- Visit the Podcast Schedule tool and click on the My Recordings tab. Press the Cancel button next to the scheduled event (as highlighted in the image below) in order to remove the booking. The event will then appear crossed out to show it is no longer scheduled to record.

Changing a booking
It is not possible to alter a booking one it has been made (for example to amend the title/description or to hold for editing) so you will need to delete the existing booking and schedule it to record again with the required settings.
If the event is taking place less than 24 hours before a change is needed, you should submit a support ticket for help.