Some locations on campus have video cameras installed which allow video footage of the lecturer to be recorded in addition to, or instead of, what is shown on the projector screen.
The Podcast Locations page shows an up-to-date list of locations which have an operational video camera.
Users must manually opt-in to have video footage recorded as part of their lecture recordings and this can be done by going to the Recording Preferences page and choosing the camera option for relevant lectures. Please note that recording preferences should be set at least 24 hours before the lecture takes place.
Video cameras can also be opted in when manually booking an event to record using the Podcast Schedule tool, as explained on our Booking page.
Examples of podcasts made with/without video recording
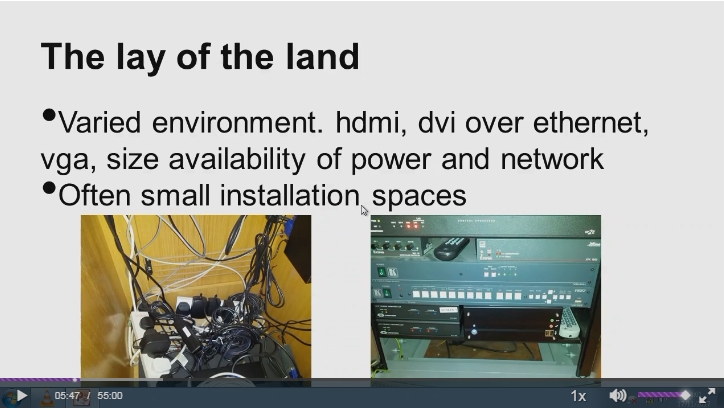
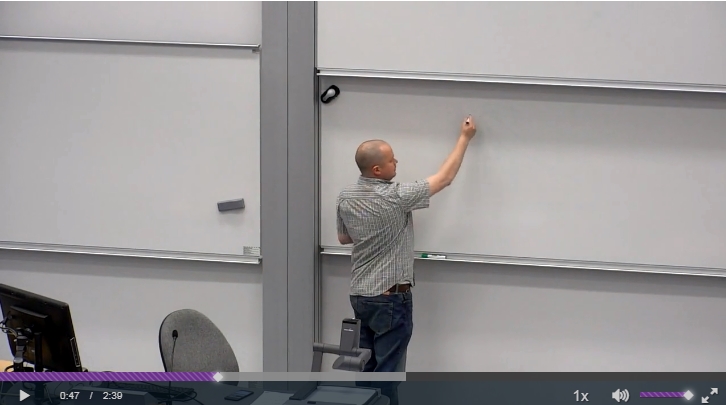
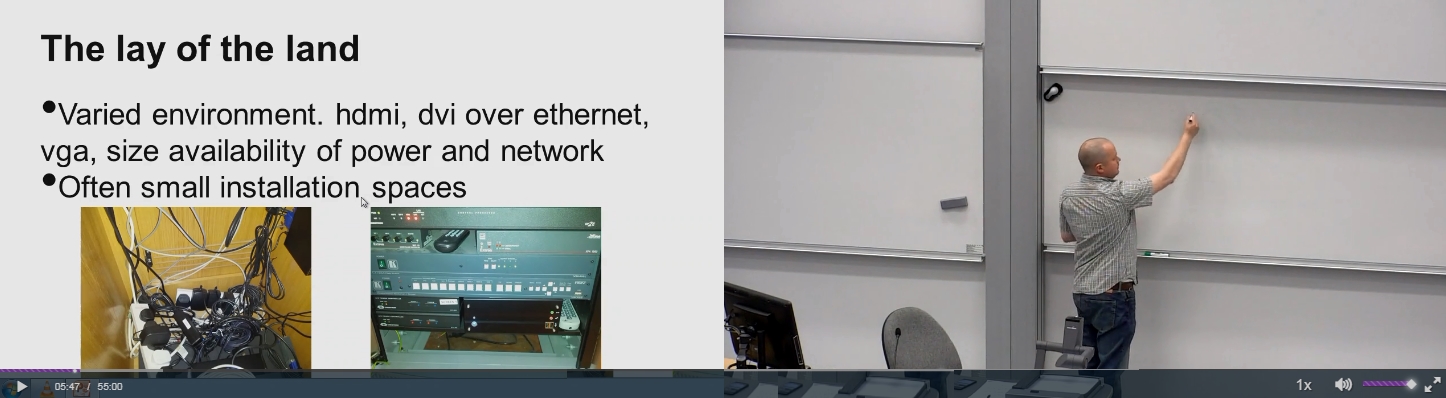
The images below show how podcasts will appear to students based on which options are selected for recording.
- A standard podcast recording shows the output from the projector in the theatre, including presentation slides, visualiser etc.
- If only the video camera option is selected to record, the podcast shows only the video camera footage in the video player.
- If video camera recording is selected in addition to the screen, both images are displayed side-by-side in the video player, as shown below.
How to opt-in to camera recording as part of the podcast
Using the Pause QR code
The Pause QR code can be displayed during a podcast which has video camera footage recorded, however it will not pause the recording during the session. Instead, any paused sections will still be recordings, but they will be marked for removal, and subsequently edited out during video processing.