This page shows you how to use the touchscreen card-reader Podcast recording equipment.
Please note not all rooms have video cameras installed so some instructions will not be relevant to all.
Step 1
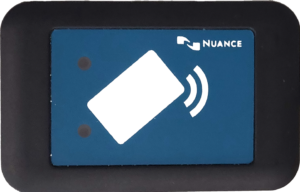
All users who require access to the published video should tap their ID cards onto the NFC card reader (image 1 below).
Step 2
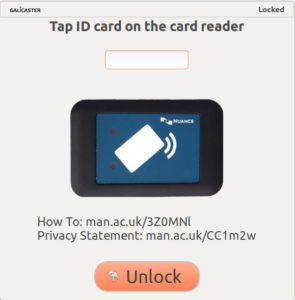
Once all cards have been tapped, click the Unlock button (shown in image 2).
Step 3
If in a location with a camera, adjust the video camera angle using the control buttons on the screen (image 3).
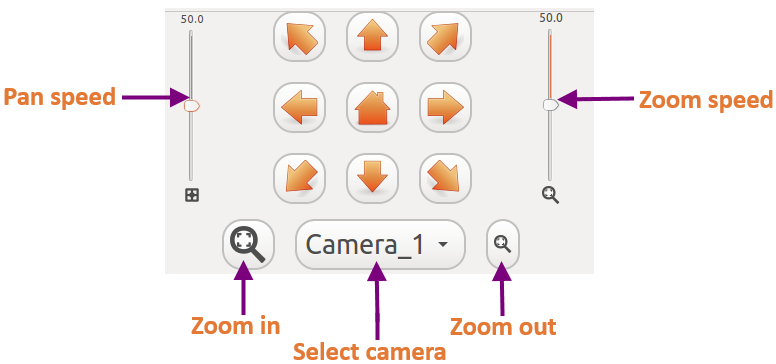
- The zoom in and out buttons allow you to focus in or out with the camera.
- Changing the zoom speed will allow you to zoom in or out quicker (if the slider is moved down) or slower (if moved up).
- In rooms which have more than one camera, select which camera to control by clicking the select camera button. This will then enable you to control that particular camera.
- Press any of the directional arrow buttons to move the camera in that direction. Each press will move the camera a certain distance in that direction.
- Changing the pan speed will allow the camera to move quicker (if the slider is moved down) or slower (if moved up).
- The home button will reset the camera to the default position.
Step 4
Press the
button to being the recording. The camera can be adjusted whilst recording using the controls. If additional users require access during a recording, you can press the lockscreen button – which will allow new users to tap their ID cards onto the card reader. Again, press unlock to get back to the camera control screen.
Step 5
Press the
button to stop the recording.
Step 6
The video will automatically be uploaded and processed. Once complete, you will be able to see it in the relevant School area of the Video Portal.
If you experience any problems or need support, please email us for help.